Chocolate-Covered Ice Cream Bars
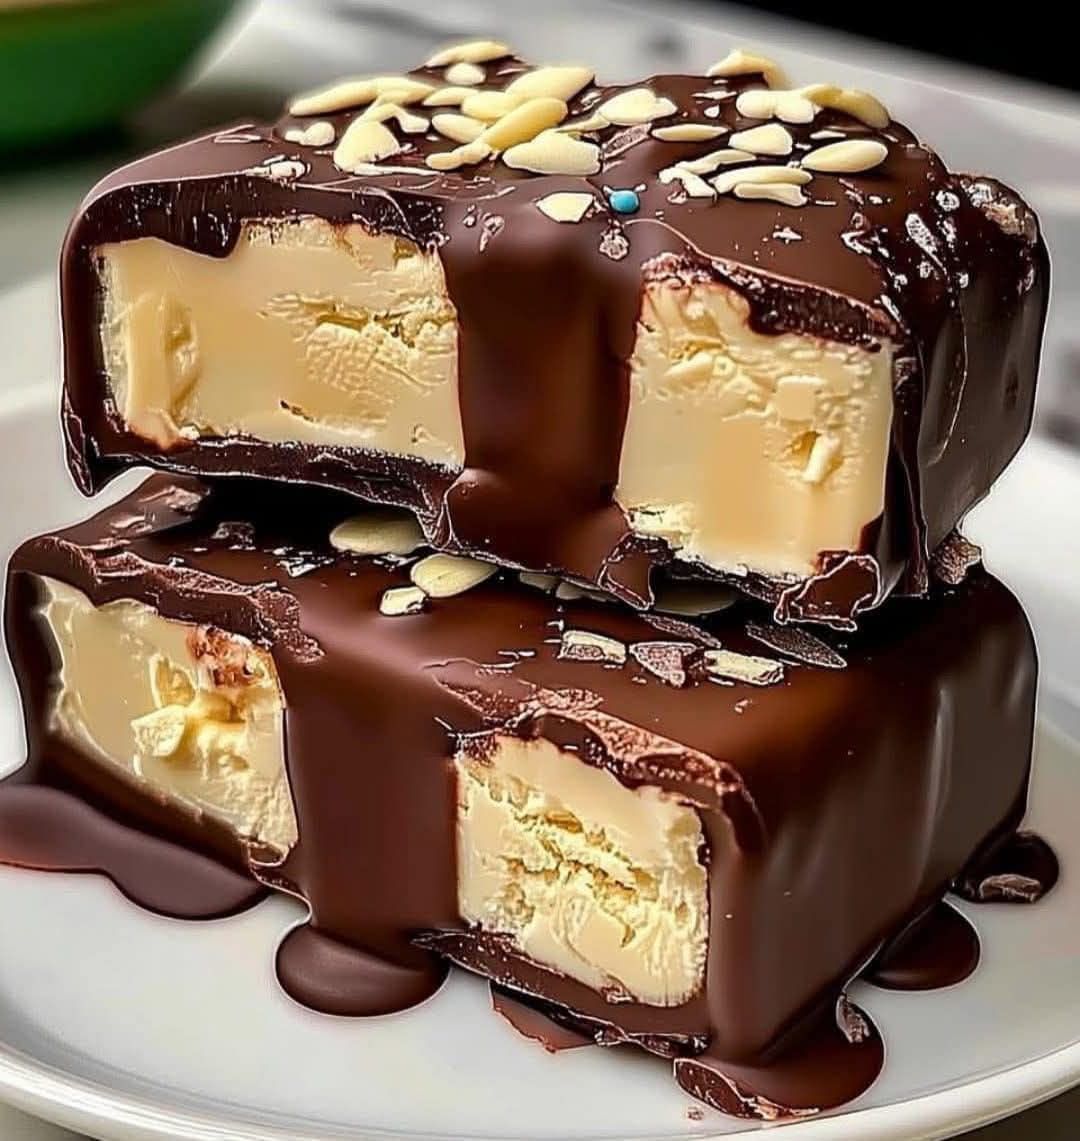
🍫 Chocolate-Covered Ice Cream Bars
📖 Description
These homemade chocolate-covered ice cream bars are rich, creamy, and encased in a crisp chocolate shell. They taste just like the ones from the store, only better — because you can control the quality of ingredients and flavor combinations. Perfect for hot summer days or whenever you need a sweet treat.
📝 Ingredients For Chocolate-Covered Ice Cream Bars
For the Ice Cream:
-
2 cups heavy cream
-
1 cup whole milk
-
¾ cup granulated sugar
-
1 tablespoon pure vanilla extract
-
Pinch of salt
For the Chocolate Coating:
-
2 cups semisweet or dark chocolate chips (or chopped chocolate)
-
3 tablespoons coconut oil (refined or unrefined)
Optional:
-
Crushed nuts, sprinkles, or sea salt for garnish
🍽️ Servings
Makes 8–10 bars, depending on the size of your molds.
👩🍳 Instructions
1. Make the Ice Cream Base
In a mixing bowl, combine heavy cream, milk, sugar, vanilla extract, and a pinch of salt. Stir until sugar is dissolved.
2. Churn
Pour the mixture into an ice cream maker and churn according to the manufacturer’s instructions (usually 20–25 minutes) until it reaches a soft-serve consistency.
No ice cream maker? Pour the mix into a shallow pan, freeze for 1 hour, then whisk vigorously. Repeat every 30 minutes for 3–4 hours.
3. Fill Molds
Spoon the soft ice cream into silicone molds or popsicle molds. Insert popsicle sticks and smooth the tops.
4. Freeze
Freeze for at least 4–6 hours or overnight until completely solid.
5. Make Chocolate Coating
In a microwave-safe bowl, combine chocolate and coconut oil. Microwave in 20-second bursts, stirring between each, until smooth and fully melted.
6. Unmold and Dip
Remove the bars from molds. Dip each frozen bar into the chocolate coating. It will harden almost instantly. Work quickly!
7. Add Toppings (Optional)
Before the chocolate fully sets, sprinkle with chopped nuts, sea salt, or sprinkles.
8. Store
Place bars on a parchment-lined tray and return to the freezer for 15 minutes. Once set, store in an airtight container.
🍬 Nutritional Info (Per Bar, est.)
| Nutrient | Amount |
|---|---|
| Calories | ~310 kcal |
| Fat | 22g |
| Saturated Fat | 14g |
| Carbohydrates | 25g |
| Sugar | 22g |
| Protein | 3g |
Values will vary depending on specific ingredients and portion size.
🌟 Benefits
-
Homemade goodness – No preservatives or artificial flavors
-
Customizable – You control sweetness, flavor, and toppings
-
Gluten-free – Naturally gluten-free if chocolate used is GF
-
Kid-friendly – Great for parties or after-school snacks
💡 Tips & Notes
-
Use good-quality chocolate: It really enhances the flavor.
-
Coconut oil helps harden the shell: Don’t skip it — it gives that satisfying snap!
-
Silicone molds work best: Easy to release frozen bars.
-
Work fast when dipping: The chocolate sets quickly on cold bars.
-
Want flavor variation? Mix crushed Oreos, peanut butter swirls, or fruit compote into the ice cream base before freezing.
-
❓ Q&A
Q: Can I make these dairy-free or vegan?
A: Yes! Use full-fat coconut milk instead of cream and milk, and a plant-based chocolate. Make sure your chocolate is dairy-free.
Q: Can I use store-bought ice cream?
A: Absolutely. Soften it slightly, then fill the molds and follow the same freezing and dipping steps.
Q: How long do these last in the freezer?
A: Up to 2 months in a sealed container. Just let them sit out for 2–3 minutes before serving for best texture.
Q: Why is my chocolate too thick for dipping?
A: Add a little more coconut oil and reheat gently. The consistency should be pourable and smooth.
Q: Can I use milk chocolate instead of dark?
A: Yes! Choose whatever chocolate you prefer — dark, milk, or even white chocolate.