Sweet Peppers Pickled Recipe: A Tangy Treat for Your Pantry
You know that pickled sweet peppers can elevate even the simplest of dishes, adding a burst of flavor and color. Few things capture the vibrant tastes of summer quite like pickled sweet peppers, and yet many home cooks overlook this easy-to-make treat. These colorful delights not only enhance your favorite dishes but also offer a burst of flavor that can transform any meal into something extraordinary.
In this article, we will explore a delightful Sweet Peppers Pickled Recipe that is not only easy to make but also incredibly versatile. Whether you’re looking to enhance your salads, sandwiches, or charcuterie boards, mastering this recipe will allow you to enjoy the tangy goodness of pickled peppers year-round. Get ready to learn the step-by-step process and tips for achieving the perfect balance of sweetness and acidity.
Why Are Sweet Peppers Pickled?
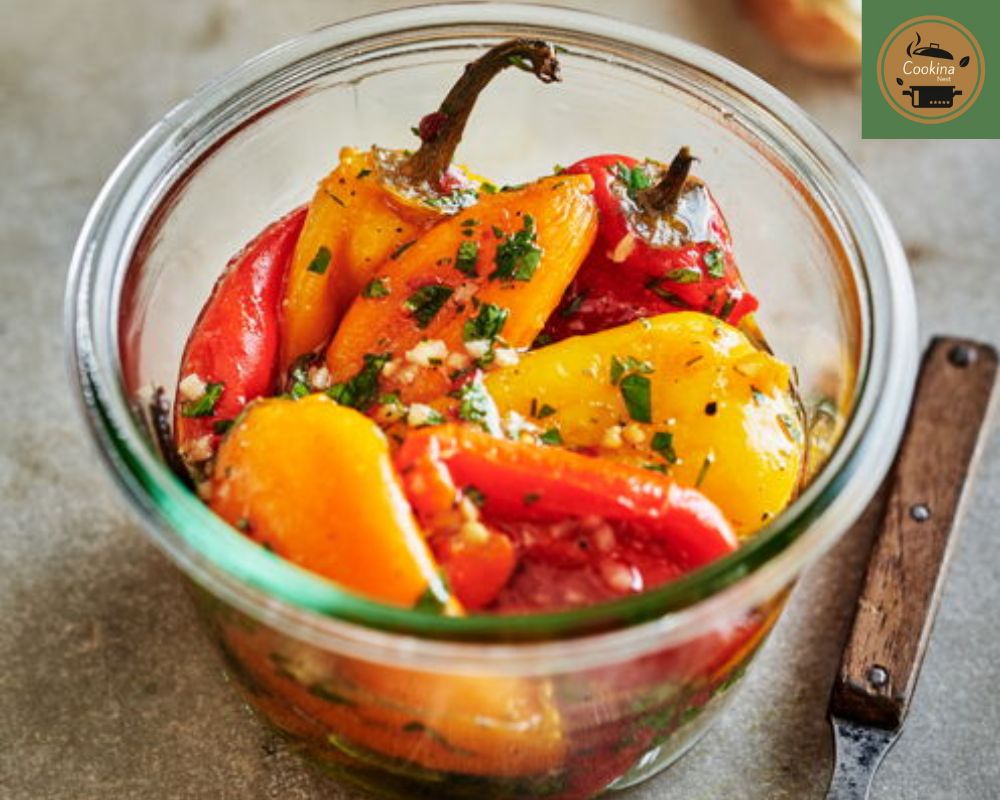
Pickled sweet peppers, such as bell and banana peppers, are not only a delicious addition to various dishes but also offer an exciting culinary experience. Their naturally mild and slightly sweet flavor profile is beautifully enhanced through the pickling process, where they retain their vibrant color and crunchy texture while absorbing just enough tang from the brine. This transformation creates a refreshing snack or side dish that can elevate any meal.
One of the standout benefits of pickled sweet peppers is their remarkable versatility. They can effortlessly add a burst of flavor to sandwiches, wraps, and tacos, while also making a delightful contribution to antipasto platters or even garnishing cocktails.
Beyond their immediate culinary uses, pickled sweet peppers boast a commendable shelf life; when stored properly in the refrigerator, they can last for months. This makes them an excellent option for meal prep or simply for having a quick snack on hand, ensuring you always have a zesty bite ready to complement your favorite dishes.
Ingredients For Sweet Peppers Pickled
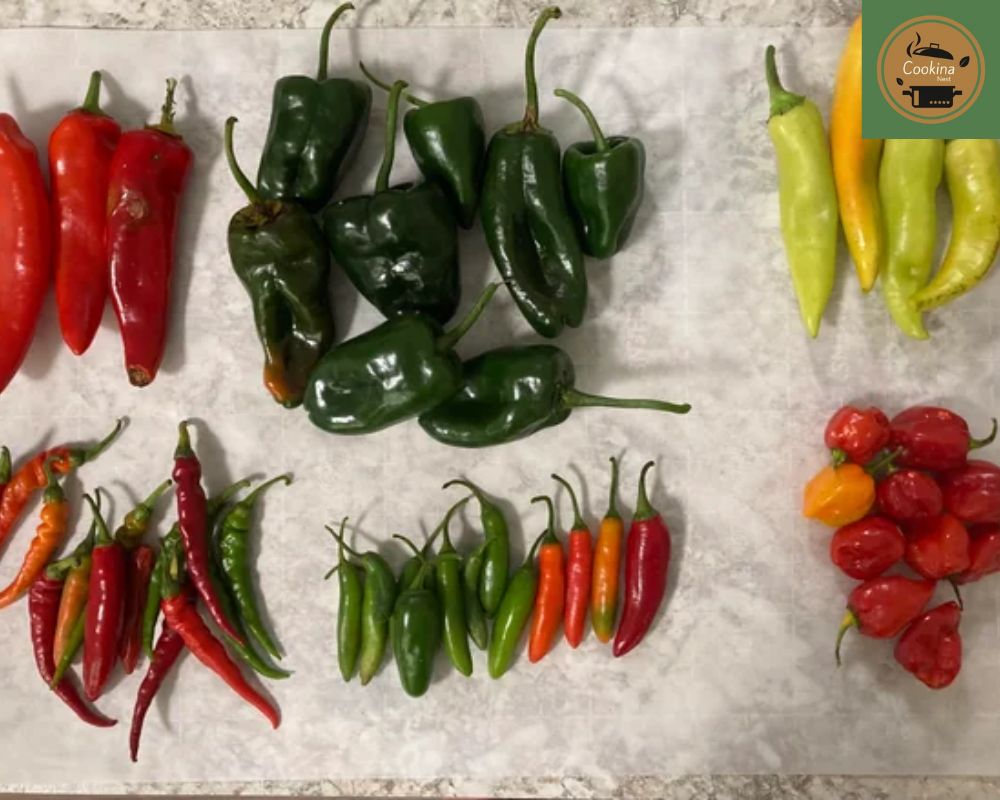
- 6–8 medium sweet peppers (red, yellow, and orange bell peppers work great)
- 1 ½ cups white vinegar (5% acidity)
- 1 cup water
- 3 tablespoons sugar
- 2 teaspoons salt (non-iodized, like pickling or kosher salt)
- 4 garlic cloves, sliced
- 1 teaspoon black peppercorns
- 1 teaspoon mustard seeds (optional)
- ½ teaspoon red pepper flakes (optional, for a hint of spice)
- Fresh herbs (like dill or thyme), optional
Equipment
- Sharp knife or mandoline
- 2–3 pint-sized glass jars with lids (sterilized)
- Medium saucepan
Step By Step Sweet Peppers Pickled Recipe
Prepare the Peppers
To begin your pickling adventure, wash your peppers thoroughly under cool running water. This step not only removes any dirt or residue but also ensures that you’re starting with the freshest ingredients possible. Once clean, it’s time to remove the stems and seeds, a process that allows the vibrant flavors of the peppers to shine through without any bitterness. Slicing them into rings about ¼ inch thick is ideal for pickling, as it increases surface area and allows the brine to penetrate more effectively.
Sterilize the Jars
To ensure safety and extend shelf life, sterilize your jars by boiling them in water for 10 minutes or running them through the dishwasher on the hottest cycle. This crucial step not only eliminates harmful bacteria but also prepares your jars to seal effectively, preventing spoilage.
Make the Brine
In a saucepan, combine the vinegar, water, sugar, and salt to create a tangy brine that will elevate your sweet peppers. The choice of vinegar can significantly influence the final flavor, while white vinegar offers a clean taste, apple cider vinegar adds a hint of fruity complexity. Bring the mixture to a boil, stirring until the sugar and salt are completely dissolved.
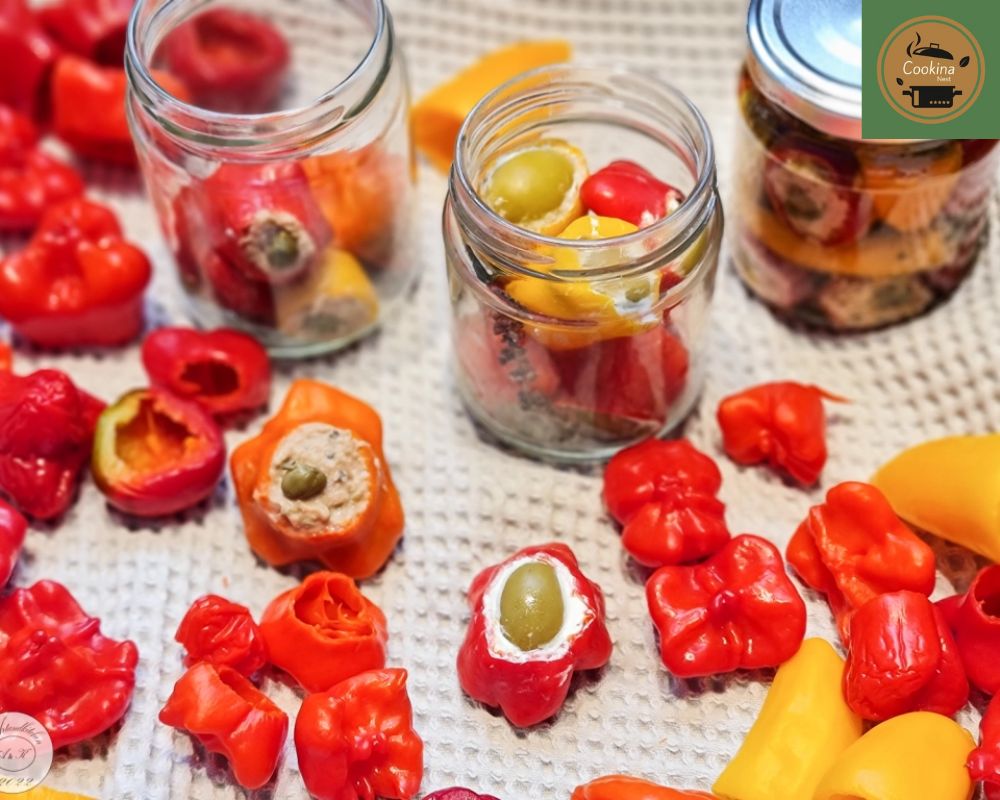
Pack the Jars
As you prepare to pack the jars, the art of layering flavors begins. Divide the sliced garlic, peppercorns, mustard seeds, and red pepper flakes among the jars, ensuring that each layer is well-distributed to maximize flavor infusion.
Add the Brine
Once your sweet peppers are prepped and ready, it’s time to add the brine, which is the heart of the pickling process. Carefully pour the hot brine over the peppers in each jar, making sure to completely submerge them. The brine, typically a mixture of vinegar, water, and spices, not only preserves the peppers but also infuses them with a tangy flavor that enhances their natural sweetness.
Seal and Cool
Once your sweet peppers have been packed into sterilized jars, it’s time to seal them for that perfect pickled finish. Wipe the rims of the jars with a clean cloth to ensure a tight seal, removing any residue that could interfere with the process. Allow the jars to cool to room temperature on the counter, where the magic truly begins.
Refrigerate
Once cool, refrigerate the jars to preserve the vibrant flavors of your pickled sweet peppers. The refrigeration process not only halts any further cooking but also allows the peppers to absorb the brine’s tangy essence. As they rest in their glass homes, the peppers will develop flavor over 24–48 hours and continue to intensify over time, creating a delightful fusion that is perfect for enhancing a variety of dishes.
How to Use Sweet Peppers Pickled?

Sweet peppers pickled offer a vibrant and tangy twist that can elevate a variety of dishes. On sandwiches and wraps, they add a delightful crunch that complements deli meats or grilled vegetables, creating a harmonious balance of flavors. Their zesty profile not only enhances the overall taste but also adds a pop of color that makes your meal visually appealing.
In salads, sweet pickled peppers shine as they bring an unexpected flavor boost to pasta salads, potato salads, or leafy greens. Their bright acidity cuts through richer ingredients, making every bite more refreshing.
For those who enjoy entertaining, including them on cheese boards is a game changer; their vivid hues and tangy notes pair beautifully with creamy cheeses, inviting guests to explore unique flavor combinations. Additionally, when piled onto tacos or burritos, these peppers can brighten up your favorite Mexican dishes, offering a sweet contrast to savory fillings.
Read More: Bendable Cauliflower Flatbread Recipe: Gluten-Free, Low-Carb & Delicious
Conclusions
Making pickled sweet peppers is not only an enjoyable kitchen project but also a fantastic way to elevate your culinary creations. The process is straightforward, requiring only a handful of ingredients and a little patience while the flavors meld. Once ready, these pickled peppers can add a delightful kick to any meal, making them a versatile addition to your pantry.
Sweet Peppers Pickled Recipe offers room for customization, allowing you to play with different spices and herbs to suit your taste. Do not hesitate to give this recipe a try and discover the joy of homemade pickles.
FAQs
Can I use apple cider vinegar instead of white vinegar?
Yes! Apple cider vinegar is a great substitute and adds a slightly fruity depth to the pickles. Just make sure the vinegar has 5% acidity to ensure proper preservation.
Can I pickle other vegetables using the same brine?
Absolutely. This brine works well with onions, cucumbers, carrots, green beans, or cauliflower. Feel free to create a mixed-vegetable pickle jar for added variety.
Can I make these shelf-stable?
Yes, you can make this recipe shelf-stable by processing the filled jars in a boiling water bath for 10–15 minutes. Use proper canning techniques and sterilized, sealed jars to prevent spoilage.
How can pickled sweet banana peppers?
To pickle sweet banana peppers, slice them into rings and pack into sterilized jars. Boil a brine of vinegar, water, sugar, and salt, then pour over the peppers. Seal the jars and refrigerate for 24–48 hours before eating.
Can I reuse the brine?
It’s best not to reuse brine for a new batch of fresh vegetables, as its acidity and salt concentration may be reduced. However, you can use leftover brine as a flavorful addition to marinades, salad dressings, or cocktails like Bloody Marys.